#Non-Chinese&Non-Regional-Chinese_Dishes (非中式主菜 和不屬於仼一菜系的中餐)
- Beer Braised Duck (啤酒鴨)
- Fried Crispy Duck (香酥鸭)
- Some Eggplant Dishes (I 九層塔茄子)
- Smoked Chicken and Smoked Pork Ribs (燻雞、燻小排)
- Holiday Main Dishes- Kalua Pork and Stuffed Pork Loin Roll (夏威夷烤豬肉, 厘肌肉卷)
- Cioppino- San Francisco-Style Seafood Stew (義式燉海鮮)
- Jambalaya and Shrimp Gumbo (美國南方 蝦仁燴飯, 蝦仁濃湯)*
- Galbi Jjim, Korean-style Braised Beef Short Ribs (韓式牛小排)
- Spanish Rice, Arroz con Pol(lo (Rice and Chicken), and Rice Pilaf*
- Skillet Chicken Pot Pie*
- Some Air Fryer Recipes (Pita Chips, Potato Wedges, Crispy Chicken, Crispy Duck)
- Pumpkin Soup (南瓜濃湯)
- Chinese Style Russian Soup (羅宋湯)
- Cabbage Soup (aka Vegetarian Russian Soup, 素羅宋湯)
- Napa Cabbage Gratin (烤白菜)
- Two Taiwanese-style Thickened Soups (西魯肉, 赤肉羹)
- Tomato and Eggs Soup (番茄蛋花湯)
- Winter Melon Soup (火腿冬瓜湯)
- Daikon and Pork Rib Soup (白蘿蔔排骨汤)
- Hot and Sour Soup (酸辣湯)
- Traditional Shanghai Soup with Fresh and Salted Pork (醃篤鮮)
- Soup with Ham and Bean Curd Strips (火腿乾絲湯)
- Bean Vermicelli Soup with Fried Bean Curd Puff (油豆腐細粉)
- Shanghai-style Thick Soup with Minced Fish Filet (III.薺菜魚羹)
- Cantonese-style Congee (廣東粥- 皮蛋瘦肉粥、生滾魚片粥)*
- Taiwan-style Tempura Soup (I.台式關東煮)
- Mushroom Chicken Soup (II.香菇雞湯)
- Shrimp Gumbo (美國南方 蝦仁濃湯)*
- Olive Garden's Zuppa Toscana, a creamy Tuscan Soup (義大利濃湯)
- Galbi Jjim, Korean-style Braised Beef Short Ribs (韓式牛小排)
#Snacks_Appetizers_Salad (零食, 小吃, 開胃菜, 沙拉)
- Big Chicken Cutlet (大雞排)
- Turtle-shaped Red Rice Cake (紅龜粿)
- Mugwort Rice Cake (艾草粿)
- Cantonese Steamed Sponge Cake (馬拉糕)
- Celery and Jelly Fish (西芹海蜇)
- Mung Bean Jelly (綠豆涼粉)
- Puff Pastry Magic- Palmier, Chinese Shao Bing, and Portuguese Egg Tarts (起酥皮做的 蝴蝶酥, 甜燒餅, 葡式蛋塔)
- Seaweed Almond Crisps (海苔杏仁酥/海苔薄燒)
- Sweet Almond Cream (杏仁露)
- Lamplight Beef (燈影牛肉)
- Sweet-and-sour Shredded Daikon (糖醋蘿蔔絲)
- Stewed Bean Curd Chunks (王媽媽滷豆乾)
- Japchae -- Korean Sweet Potato Noodle Dish (韓國粉絲)
- Chinese-style Pork Jerky and Beef Jerky (豬肉乾, 牛肉乾)
- Sesame Seeds Candy and Chinese Nougat (芝蔴糖, 牛軋糖)
- Date Paste and Walnut Candy (棗泥核桃糕, aka 南棗核桃糕)
- Roasted Soybeans (筍豆)
- Mung Bean Cake (綠豆糕)
- Taiwan-style Chicken Wrap (台式雞卷)
- Two More Taiwan-Style Snacks (台灣小吃 龍鳳腿, 台南蝦卷)
- Taiwan-style Bowl Rice Cake ( 台灣小吃 碗粿)
- Steamed Rising Cake (Fa-Gao, 發糕)
- Hong-Kong-style Turnip Cake (港式蘿蔔糕)
- Cantonese White Sugar Cake (白糖糕)
- Taiwan-style Popcorn Chicken (台灣小吃 鹽酥雞)
- Salt-and-Pepper Chicken Wings (廣式 椒鹽雞翼)
- Shanghai-style Smoked Fish (燻魚)
- Ma-Lan Veggie with Minced Bean Curds (香乾馬蘭頭)
- Bean Sprouts with Three Shreds (銀芽三絲)
- Wheat Gluten with Four Ingredients (四喜烤麩)
- Pan-fried or Roasted Peanuts (油炸花生, 烤花生)
- Peanuts with Dried Anchovy and Indonesian-style Peanuts with Silver Fish (花生小魚乾)
- Smashed Cucumber Salad (涼拌黃瓜)
- Cabbage Salad & Lotus Roots Salad (涼拌包心菜, 涼拌蓮藕)
- Kale Salad (羽衣甘藍沙拉)
- Tabbouleh, Baba Ganoush, and Hummus (三樣地中海開胃菜)
- Moussaka from Lebanon (地中海茄子)
- Taiwanese-style Sweet-and-Sour Cabbage & Korean-style Chive Salad (台式泡菜, 韓式涼拌韭菜)
- Guacamole and Quesadilla
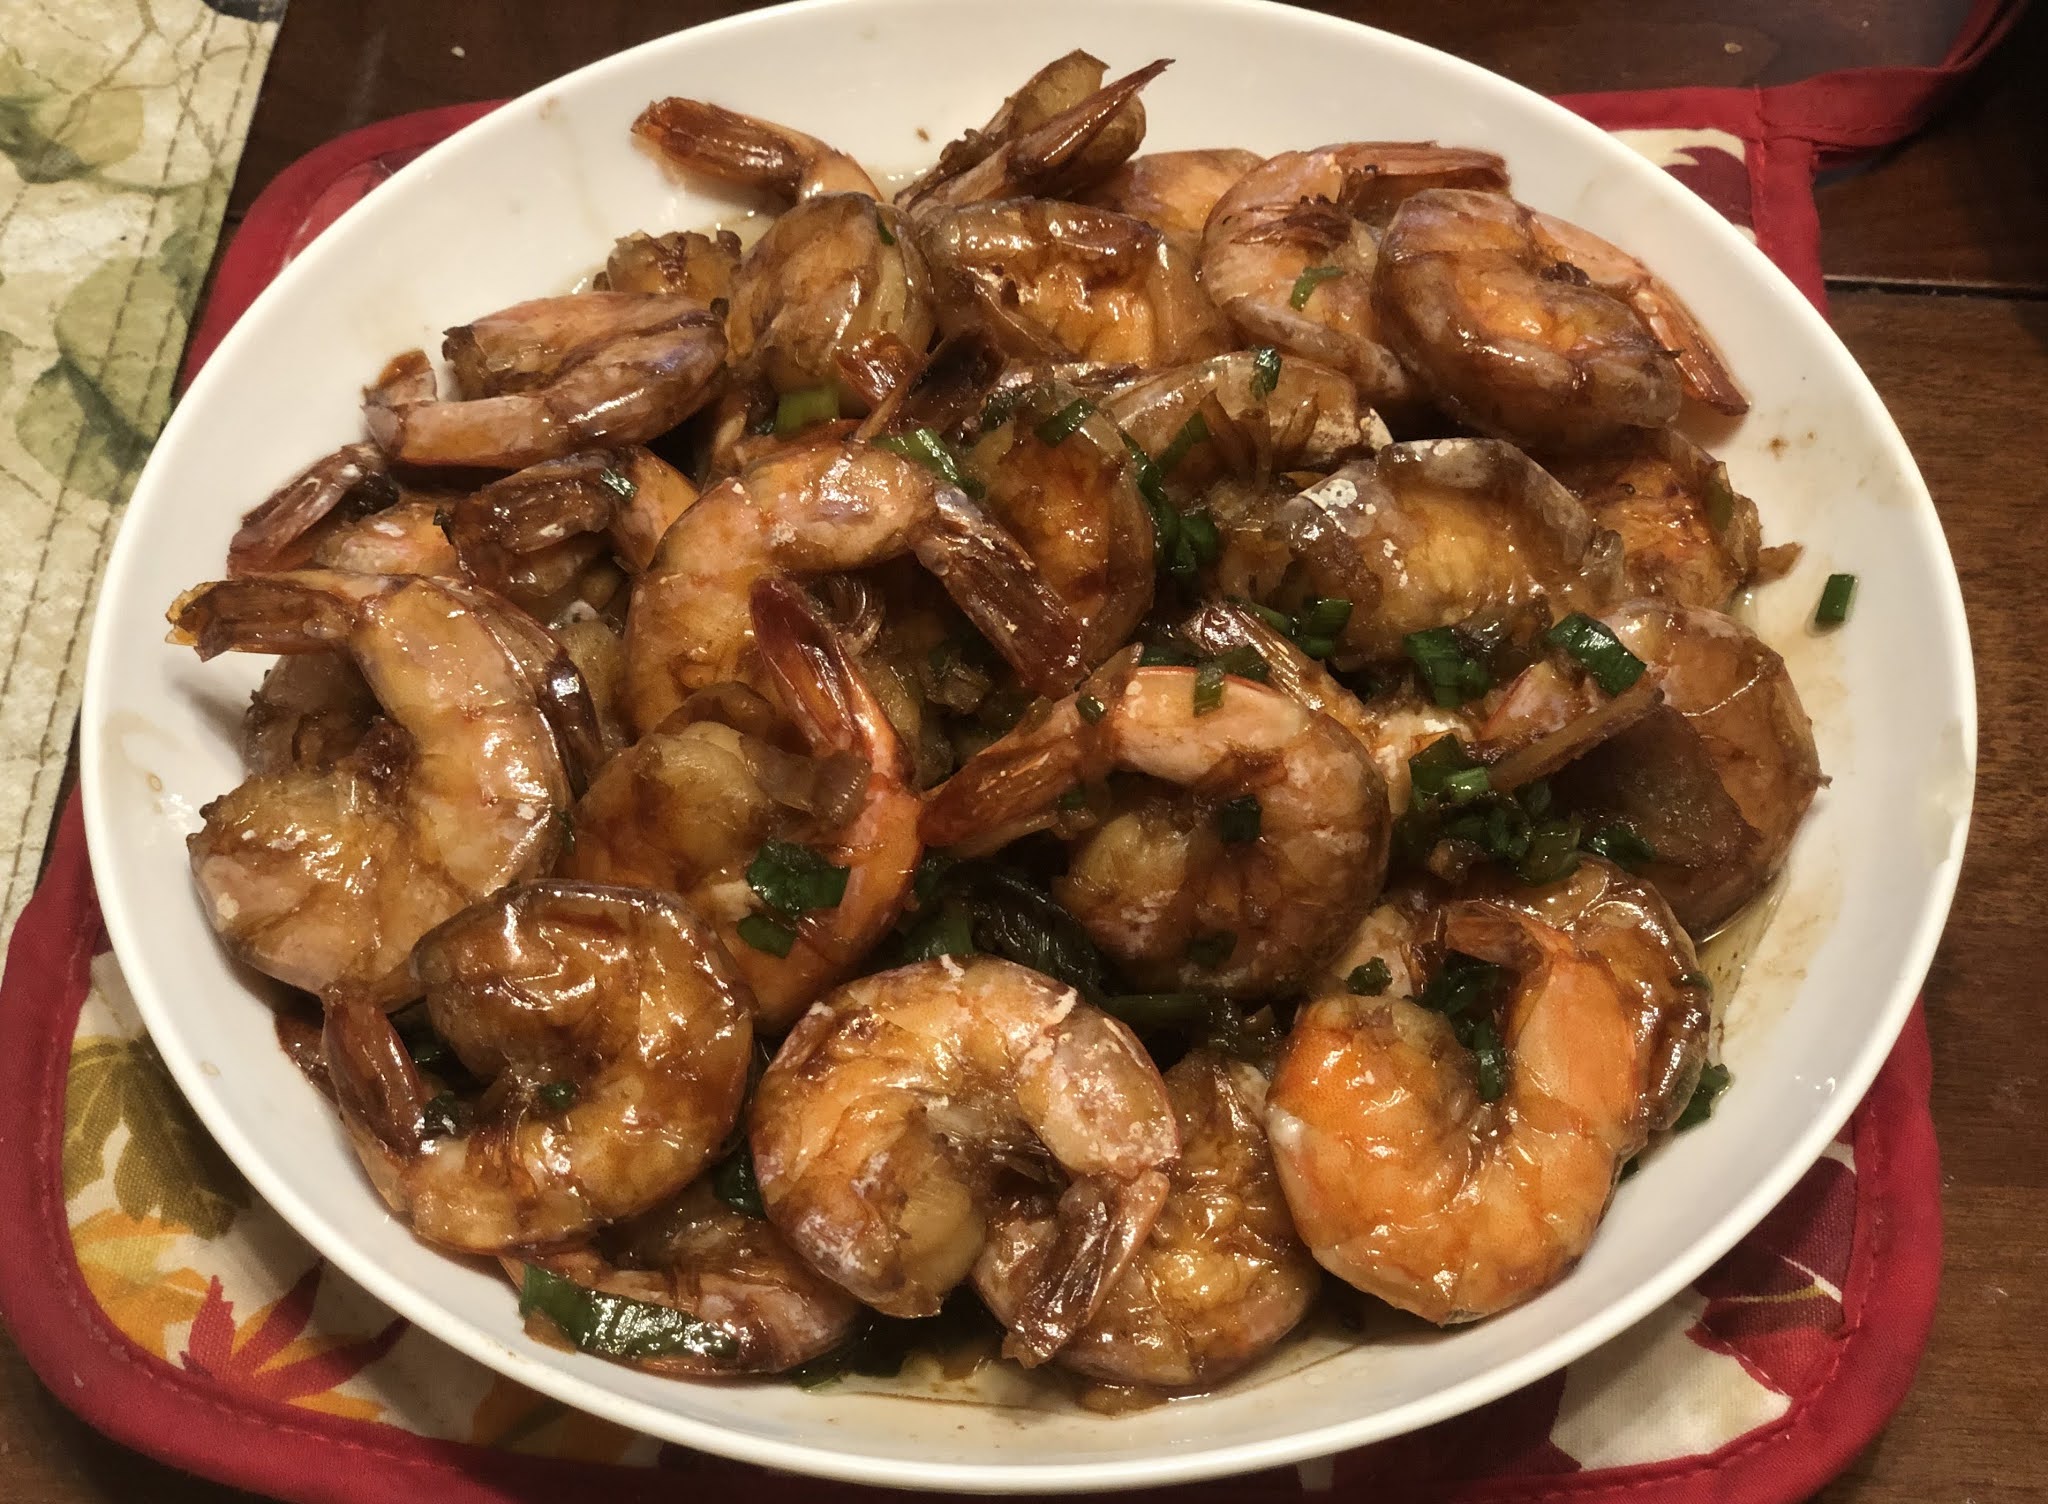
- Shanghai Sauteed Shrimp (上海油爆蝦)
- Fish Gluten (魚麵筋)
- Microwave Steam Fish (簡速清蒸活魚)
- Spicy fish fillet and tofu (豆瓣魚片)
- Shanghai-style Smoked Fish (燻魚)
- Sautéd Crystal Shrimp (水晶蝦仁)
- Fried Eggplant Stuffed with Shrimp (II.酥炸茄盒)
- Taiwan-Style Shrimp Roll (台南蝦卷)
- Clams with Basil (九層塔炒蜆)
- A Dish or Two with Fish Steak (清蒸鱈魚 or 豆酥鱈魚)
- Dishes with Fish Filet (糟溜魚片, 糖醋魚片, 薺菜魚羹)
- Szechwan Boiled Fillet of Fish (四川水煮魚)
- Noodle with Fish Filet and Pickled Mustard Greens (I.雪菜魚煨麵)*
- Taiwan-style Tempura Soup (I.台式關東煮)
- Cioppino- San Francisco-Style Seafood Stew (義式燉海鮮)*
- Jambalaya and Shrimp Gumbo (美國南方 蝦仁燴飯, 蝦仁濃湯)*
- Shrimp Fried Rice (蝦仁蛋炒飯)
- Spring Rolls (春卷)
- The Perfect Ten Vegetables (十全十美 素十錦)
- Sticky Rice Cake with Mustard Greens (雪菜炒年糕, 薺菜炒年糕)*
- Two Veggie Dishes with Pickled Mustard Greens (雪菜百葉毛豆,雪菜蠶豆酥)
- Shanghai Sauteed Shrimp (上海油爆蝦)
- Wine-Soaked Chicken (醉雞)
- Air-Dried Chicken (風雞)
- Sautéd Crystal Shrimp (水晶蝦仁)
- Fish Gluten (魚麵筋)
- Shanghai-style Smoked Fish (燻魚)
- Shanghai-style Rolls wrapped in Soy Sheet (薺菜百頁包)
- Traditional Shanghai Soup with Fresh and Salted Pork (醃篤鮮)
- Bean Vermicelli Soup with Fried Bean Curd Puff (油豆腐細粉)
- Soup with Ham and Bean Curd Strips (揚州煮乾絲 or 火腿乾絲湯)
- Wheat Gluten with Four Ingredients (四喜烤麩)
- Ma-Lan Veggie with Minced Bean Curds (香乾馬蘭頭)
- Wu-Xi Style Pork Loin Back Rib (無錫排骨)
- Shanghai-style Pork Hock (冰糖元蹄 or 走油蹄膀)
- Dong-Po Pork (東坡肉)
- Pearl Balls & Braised Lion Head (珍珠丸子, 紅燒獅子頭)
- Spicy Pickled Long Beans (辣炒酸豇豆)
- A Dish or Two with Fish Steak (II.豆酥鱈魚)
- Shanghai-style Fish Filet (II.糖醋魚片)
- Shanghai-style Thick Soup with Minced Fish Filet (III.薺菜魚羹)
- Noodle with Fish Filet and Pickled Mustard Greens (I.雪菜魚煨麵)*
- Shanghai-style Vegetable Rice (上海菜飯)*
- Granny's Cured Pork (婆婆從前這樣做臘肉, in Chinese)
- Roasted Soy Beans (筍豆)
- Traditional Sweet and Sour Sauce (甜酸醬 or 糖醋調味料)
- Homemade Tahini and Chinese-style Sesame Paste (V. 芝蔴醬)
- Turtle-shaped Red Rice Cake (紅龜粿)
- Mugwort Rice Cake (艾草粿)
- Stir Fry Rice Noodle (肉絲炒米粉)*
- A Very Special Taiwan-style Stir-Fried Rice (台灣油飯)*
- Taiwan-style Minced Pork Sauce and Rice Pasta (台式香菇肉燥, 肉燥米台目)*
- Two Taiwanese-style Thickened Soups (西魯肉, 赤肉羹)*
- Taiwan-style Chicken Wrap (台式雞卷)
- Two More Taiwan-Style Snacks (台灣小吃 龍鳳腿, 台南蝦卷)
- Taiwan-style Bowl Rice Cake ( 台灣小吃 碗粿)
- Taiwan-style Popcorn Chicken (台灣小吃 鹽酥雞)
- Taiwan-style Pig Feet (台式滷豬腳, 豬腳麵線)*
- Taiwan-style Pork-Stew with Rice (台式滷肉飯)*
- Taiwanese-style Three-Cup Chicken (台式三杯雞)
- Taiwan-style Braised Chicken, aka Teriyaki Chicken (I.台式照燒雞)
- Taiwan-style Tempura Dishes (台式關東煮, 韭菜花炒甜不辣)
- Pan-fried Rice wrapped in Egg Crepe (蛋包飯)*
- Bitter Melon With Eggs (II.苦瓜炒蛋)
- An apprentice's Basic Canape'(s) (油炸花生,炒酸菜)
- Taiwanese-style Sweet-and-Sour Cabbage (台式泡菜)
- Hakka Stir-Fry (客家小炒)
- Hakka Steam Pot (客家三封)*
- Sweet and Spicy Sauce (甜辣醬)
- Microwave Steam Fish (簡速清蒸活魚)
- BBQ Baby Back Rib (叉燒醬烤排骨)
- Cantonese-style Steamed Pork Short Ribs (豉汁蒸排骨)
- Cantonese-style BBQ Pork (廣式叉燒)
- Cantonese-style pan-fried noodle (叉燒兩面黃)*
- Braised Longevity Noodle (干燒伊麵)*
- Cantonese Yang Zhou Fried Rice (揚州炒飯)*
- Singapore-style Rice Noodle (星州炒米粉)*
- Clay-pot baked rice with Chinese sausages and ham (臘味堡仔飯)*
- Cantonese-style Congee (廣東粥- 皮蛋瘦肉粥、生滾魚片粥)*
- Hong-Kong-style Turnip Cake (港式蘿蔔糕)
- Two Popular Snacks (廣式 椒鹽雞翼)
- Cantonese-style Chicken in Seafood Soy Sauce (II.廣式鼓油雞)
- Hainanese Chicken Rice (海南雞飯)
- Diced Chicken Wrapped in Lotus Leaf (荷葉糯米雞)
- Clams with Basil (九層塔炒蜆)
- Cantonese-style Fish Filet (I.糟溜魚片)
- Beef Tendon and Drop Flank Stew (牛腩牛筋煲)*
- Sacha Beef (沙茶牛肉)
#SzechuanDish (川菜)
- Spicy fish fillet and tofu (豆瓣魚片)
- Ma-Po Tofu (麻婆豆腐)
- A Famous Szechuan Dish (螞蟻上樹, Ground Pork and Bean Vermicelli)
- Snowflake Chicken (雪花雞)
- Lamplight Beef (燈影牛肉)
- Spicy & Sour Cold Noodle (I.酸辣涼粉)
- Some Eggplant Dishes (I.鱼香茄子)
- Szechwan Diced Chicken (四川辣子雞)
- Szechwan Boiled Fillet of Fish (四川水煮魚, 水煮肉片, 水煮牛)
- Stir-fried Chinese Ham with Leeks (蒜苗臘肉)
- Hot Chili Pepper Oil (麻辣紅油)
- weet-and-sour Shredded Daikon (糖醋蘿蔔絲)
- Japchae -- Korean Sweet Potato Noodle Dish (韓國粉絲)
- The Perfect Ten Vegetables (十全十美 素十錦)
- Wheat Gluten with Four Ingredients (四喜烤麩)
- Bean Sprouts with Three Shreds (銀芽三絲)
- Been Sprouts and Chive Stir-Fried with Bean Curd (綠豆芽炒豆腐乾)
- Thee More Bean Curd Dishes (韭黃香乾, 黃豆芽香乾, 辣炒香乾)
- Two Veggie Dishes with Pickled Mustard Greens (雪菜百葉毛豆,雪菜蠶豆酥)
- Some Simple Veggie Dishes (炒青菜, 炒三絲, 糖醋蓮花白)
- Tomato and Eggs Stir-Fried (番茄炒蛋)
- Stewed Tofu with Tomatoes (蕃茄豆腐)
- Napa Cabbage with Bean Vermicelli (大白菜粉絲)
- Spicy & Sour Cold Noodle (I.酸辣涼粉)
- Cold Noodle in Sesame Paste (II.麻醬涼麵)*
- A Pumpkin Dish (燒南瓜)
- Two Bitter Melon Dishes (苦瓜兩吃)
- Some Eggplant Dishes (III.鍋塌茄子)
- A Treasure Trove of Vegetable Chunks (四寶粒)
- Cabbage Soup (aka Vegetarian Russian Soup, 素羅宋湯)
- Shanghai-style Vegetable Rice (上海菜飯)*
- Braised Longevity Noodle (干燒伊麵)*
- Smashed Cucumber Salad (涼拌黃瓜)
- Cabbage Salad & Lotus Roots Salad (涼拌包心菜, 涼拌蓮藕)
- Kale Salad (羽衣甘藍沙拉)
- Tabbouleh, Baba Ganoush, and Hummus (三樣地中海開胃菜)
- Moussaka from Lebanon (地中海茄子)
- Beef Xian Bing (牛肉餡餅)*
- Chive Pocket (韮菜盒子)
- Sesame Pancake (芝麻大餅)
- Sesame-Paste Biscuit (芝麻醬燒餅)
- Scallion Pancake (蔥油餅)
- Water Dumplings with ground pork and Napa cabbage (白菜豬肉水餃)*
- Beef Noodle, Stewed Beef, and more (牛肉麵; 滷牛肉, 滷蛋; 滷菜)*
- Noodle in Ground-pork Bean Sauce (炸醬麵)*
- Cold Noodle in Sesame Paste (II.麻醬涼麵)*
- Noodle with Sliced Pork and Pickled Mustard Greens (II.雪菜肉絲麵)*
- Tien-Jin Moo-Shu Pork (天津木須肉)
- Sour Napa Cabbage with Bamboo Shoots and Pork (酸筍炒肉絲)
- Homemade Tahini and Chinese-style Sesame Paste (V. 芝蔴醬)
#Non_Western_Cake_Dessert_Bread (中式糕點, 甜食)
- Japanese Cheesecake (日式起司蛋糕)
- Mango Mousse Cake (芒果慕斯蛋糕)
- Egg Yolk Shortcake (蛋黃酥)
- Baked Sweet Rice Cake with Red bean paste (烤紅豆年糕)
- The Perfect Bread (湯種麵包)
- Mung Bean Cake (綠豆糕)
- Steamed Rising Cake (Fa-Gao, 發糕)
- Cantonese White Sugar Cake (白糖糕)
- Hong-Kong-style Turnip Cake (港式蘿蔔糕)
- Sesame Seeds Candy and Chinese Nougat (芝蔴糖, 牛軋糖)
- Date Paste and Walnut Candy (棗泥核桃糕, aka 南棗核桃糕)
- Moon Cake with Date Paste Filling (廣式棗泥月餅)
- Mung Bean Soup with Chinese Pearl Barley (I.綠豆薏仁湯)
- Sweet Almond Cream (杏仁露)
#Western_Dessert_Bread_Quiche_Dip_Salad (西式糕點, 麵包, 蛋派)
- Italian Sponge Cake and Swiss Roll (歐式海綿蛋糕、蛋糕卷)
- Cranberry Biscuit
- Kahlua Cake
- Apple Pie
- Tiramisu
- Focaccia- Italian Flat Bread (義式薄麵包)
- Breakfast! Cornbread, Quiche Lorraine, and Scone (玉米麵包, 法式蛋派, 蘇格蘭鬆餅)
- Breakfast? Steakhouse Black Bread, Crustless Quiche, Pineapple Cake (黑麵包, 蛋派, 鳳梨糕)