- Get ~1 lb of pork butt (with some fat) or pork tender loin (with no fat). For pork butt, Chinese markets tend to sell a big chunk of 3-4 lbs, just adjust the seasoning proportionately. Cut the meat into slices (2 - 2"5" thick slice for pork butt).

- (Marinate the meat overnight) Mix 2 Tbsp Red Wine, 1 Tbsp Sugar, 1 tsp salt, and 2 Tbsp Lee Kum Kee (李錦記) Char Siu Sauce (叉燒醬, see product package to the right) thoroughly, and pour the mixed sauce into a clean 1-gallon double-zip bag. Place the meat in, zip the bag tightly. Mix the sauce and the meat together inside the bag. Place in fridge over night, preferably for 24 hours. Note- Char Siu Sauce (叉燒醬) is the ingredient that makes the meat red, because it contains food color. I plan to try Ketchup or Anka Sauce (see this post for more info) in place of the Char Siu Sauce in the future, and revise this part of the recipe accordingly.
- (Baking Phase 1) Preheat oven to 400-deg F. Place the meat slices with all the marinate sauce in a glass baking pan (at least 1.5" deep). Cover the pan with tin foil or another flat cookie pan. Place the covered glass pan into oven, and bake for 50 minutes. Note- Meat slices will be dry if not covered tightly.
- (Baking Phase 2) Reduce heat down to 300-deg F. Drain out the sauce left in the deep glass pan. Brush on a thin layer of honey and place the glass pan back in the oven without the cover for 10 minutes. Brush honey again and bake for another 10 minutes. Flip the meat slices and repeat the brush and bake process. Note- Total baking time for this phase is 40 minutes, i.e., (10 minutes x 2) for each side x 2 sides.
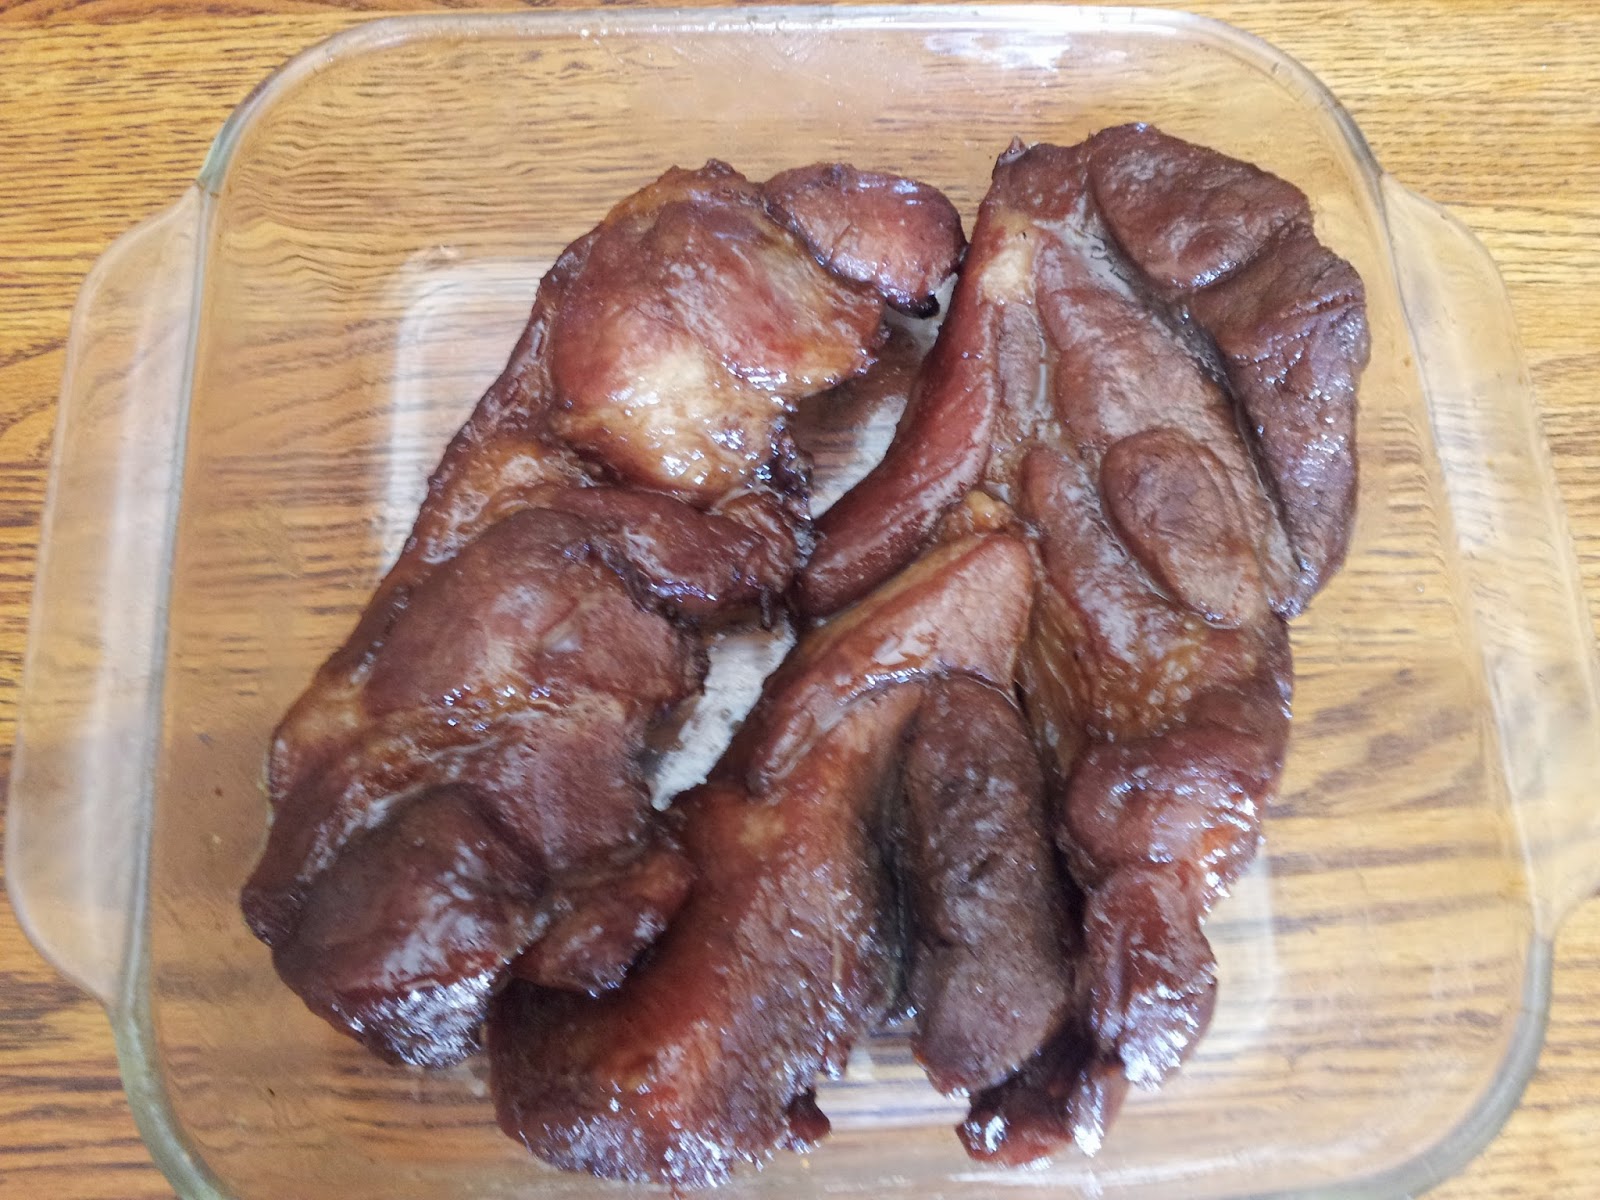
- Let the meat cool down and use it with other dishes (see this post). Here is a finished product. Note- this version looks darker red, because I used soy sauce, instead of salt, brown sugar, instead of sugar (both darken the sauce, and the meat, considerably). Will do better next time.
Friday, October 24, 2014
Cantonese-style BBQ Pork (廣式叉燒)
This is a traditional Cantonese-style dish that's been around forever. We can definitely buy this kind of BBQ Pork. But doing it yourself has its value, esp. for those who cannot easily find the ready-made item. The recipe below is still work-in-progress in the area of making the pork look red in its color. Please continue to monitor future revisions in this area.
Subscribe to:
Post Comments (Atom)
No comments:
Post a Comment